The Only 5 Tools You Need to Start Baking Bread at Home
Before I baked my first real loaf, I went down a rabbit hole of bread baking equipment and nearly convinced myself I needed a $400 proofing basket set, a specialty lame, and a steam injection oven. I didn't need any of it.
The truth is you can bake outstanding bread with equipment you probably already own. Professional bread baking tools are nice-to-haves, not requirements - and knowing the difference saves you money and a cluttered kitchen.
Here are the only 5 bread baking tools that genuinely matter for beginners, plus one optional upgrade worth considering.
1. A Kitchen Scale: The Non-Negotiable
If there's one piece of equipment worth buying before anything else, it's a digital kitchen scale.
Baking - especially bread baking - is a science. Volume measurements like "cups" are notoriously inconsistent: a cup of flour can weigh anywhere from 120g to 170g depending on how it was scooped. That 50g difference will noticeably affect your dough hydration and final loaf.
Weight measurements are exact every time. Professional bakers exclusively work in grams and percentages, not cups and teaspoons.
What to look for:
- Reads in 1-gram increments
- Has a tare (zero) function
- Capacity of at least 5kg
- Decent entry-level options cost $10-$20
Once you start weighing your ingredients, your results become dramatically more consistent. It's the single biggest upgrade for any beginner baker.
2. A Large Mixing Bowl
Bread dough needs room. A bowl that's too small makes mixing awkward and fermentation cramped.
Look for a bowl that holds at least 4-5 quarts - large enough to comfortably hold your dough after it doubles in size during bulk fermentation.
Material doesn't matter much, but consider:
- Glass: You can watch the fermentation from the sides (genuinely useful)
- Stainless steel: Durable, lightweight, easy to clean
- Ceramic: Heavy but holds temperature well
You almost certainly already own a bowl that works. No purchase needed.
3. A Loaf Pan (9x5 Inch)
For beginner sandwich bread, a standard 9x5 inch loaf pan is your best friend. It gives the dough shape, support, and reliable results while you're still learning to read dough consistency.
Material matters here:
- Aluminized steel or light-colored metal: Bakes evenly, produces a golden brown crust
- Dark nonstick pans: Can over-brown the bottom and sides
- Glass pans: Conduct heat more slowly - good for beginners who tend to over-bake
A quality loaf pan costs $10-$15 and will last for decades. Once you're comfortable with shaping, you can graduate to free-form loaves on a baking sheet.
Tip: Always grease your loaf pan, even nonstick ones. Brush with softened butter or spray with cooking oil, making sure to coat the corners. A well-greased pan means your loaf releases cleanly every time.
4. An Instant-Read Thermometer
Two questions plague beginner bread bakers:
- Is my water the right temperature for yeast?
- Is my bread fully baked?
An instant-read thermometer answers both definitively.
For yeast activation: Water should be 100-110°F (38-43°C). A few degrees either way and you risk sluggish or dead yeast.
For baking: Bread is fully baked when the internal temperature reaches 190-200°F (88-93°C) for most white breads, or 200-210°F (93-99°C) for denser loaves.
This eliminates the guesswork. No more tapping the bottom of the loaf and hoping it sounds hollow, no more cutting into bread that turns out gummy in the middle.
A decent instant-read thermometer costs $15-$25. It'll serve you across all your cooking, not just bread.
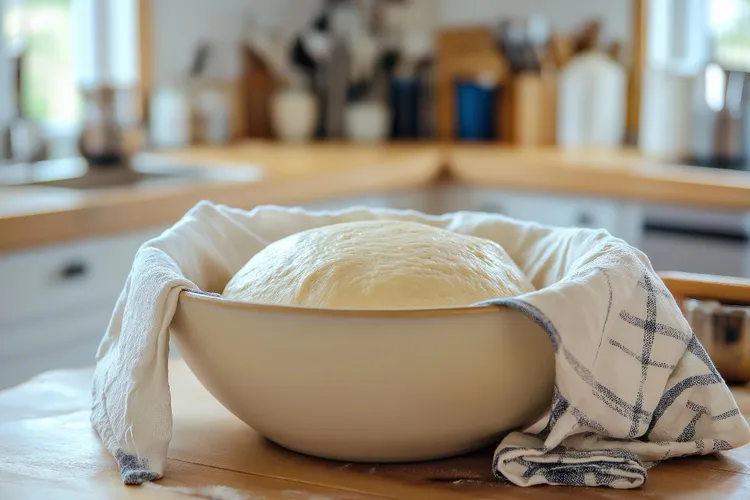
5. A Clean Kitchen Towel or Plastic Wrap
Dough needs to be covered while it proofs - both to maintain moisture (dry dough develops a skin that inhibits rising) and to trap a little warmth.
A clean, damp kitchen towel laid over your bowl works perfectly. Plastic wrap or a shower cap works even better because it creates a fully sealed environment.
This is genuinely a zero-purchase item. You own towels. You're ready.
The Optional Upgrade Worth Considering: A Dutch Oven
A Dutch oven isn't essential - but if you catch the bread baking bug (and you will), it's the single best upgrade you can make.
Here's why: the key to artisan bread's crackly, glossy crust is steam in the first few minutes of baking. Steam keeps the crust pliable, allowing maximum oven spring before it sets. After 20 minutes, you remove the lid and the crust firms up and colors beautifully.
A Dutch oven creates this steam-trapping environment without any special oven modifications. A 4-5 quart enameled Dutch oven works perfectly for most loaf sizes.
Quality Dutch ovens are an investment ($70-$350 depending on brand), but they last a lifetime and work brilliantly for soups, stews, braises, and pasta sauces too.
Don't have a Dutch oven? Place a small oven-safe pan of boiling water on the bottom rack when you put your bread in. It produces steam in the oven and significantly improves your crust - not quite Dutch oven quality, but a meaningful improvement over nothing.
Tools You Don't Need (Yet)
Bread lame: A razor blade on a stick for scoring dough. A sharp serrated knife or a plain razor blade does the same job perfectly.
Banneton (proofing basket): Beautiful cane baskets that give sourdough its signature spiral pattern. A bowl lined with a floured kitchen towel is an exact substitute.
Stand mixer: Genuinely nice but absolutely not required. Kneading by hand takes 10 minutes and gives you better dough-reading skills.
Baking stone or steel: Great for pizza and free-form loaves eventually. For beginners with loaf pans, your regular oven rack is fine.
Common Mistakes With Bread Equipment
Mistake 1: Using dark nonstick pans for light loaves. Dark pans absorb more heat and can produce over-browned, sometimes burnt bottoms on sandwich loaves. If that's what you own, reduce oven temperature by 25°F.
Mistake 2: Skipping the thermometer and eyeballing water temperature. Experienced bakers develop a feel for this. Beginners consistently over-estimate "warm" and kill yeast with water that's too hot. Just buy the thermometer.
Frequently Asked Questions
Q: Can I bake bread in a regular pot instead of a Dutch oven? Yes, as long as it's oven-safe and has a lid. Cast iron skillets with a lid work. Even a stainless steel pot with a lid can work at lower temperatures (check the manufacturer's oven-safe rating).
Q: Do I need a stand mixer? No. It's a convenience item, not a requirement. Hand-kneading produces excellent bread and teaches you more about dough than a mixer does. Start without one.
Q: What's the best brand for a beginner loaf pan? USA Pan, Lloyd Pans, and Nordic Ware are all well-regarded. Honestly, even a $10 grocery store pan will work fine for beginner bread.
Q: Is a baking stone worth buying early? For beginner sandwich loaves in a pan - no. Once you're making free-form loaves or pizza regularly, yes. It's a worthwhile eventual purchase.
Spend the Money Where It Matters
A kitchen scale and a thermometer are the two purchases with the biggest immediate impact on your bread quality. Everything else you likely already own or can improvise.
Start simple. Bake the straightforward sandwich loaf in our Complete Beginner's Guide to Baking Bread. Get your hands in the dough before upgrading your equipment.
Then, when you're ready to take on more ambitious loaves like our No-Knead Overnight Bread, a Dutch oven will take your results to the next level.
More from the Beginner's Bread Series:
Latest