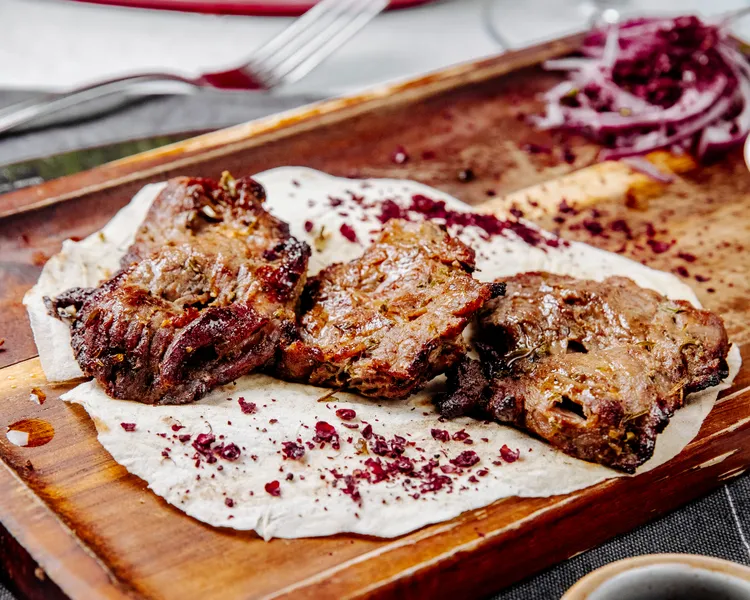
How to Sear Meat Like a Professional
That deep brown crust on a perfectly cooked steak isn’t luck - it’s technique. Professional chefs don’t just “cook” meat; they sear it with intention, precision, and patience. The result is meat that’s flavorful, juicy, and restaurant-quality. The good news? You don’t need a commercial kitchen to master this skill. With the right pan, proper heat, and a few expert tricks, you can sear meat like a pro in your own kitchen - every single time.
What Does “Searing” Really Mean?
Searing is the process of cooking meat over very high heat to create a deep brown crust. This crust isn’t just about appearance - it’s about flavor.
Searing triggers the Maillard reaction, a chemical reaction between amino acids and sugars that creates hundreds of new flavor compounds. This is why browned meat tastes richer and more complex.
Important to know:
Searing does not seal in juices - that’s a myth. What it does is create flavor and texture.
Why Professional Searing Tastes Better
Chefs focus on:
-
Surface dryness
-
Proper fat selection
-
Extreme heat
-
Minimal movement
-
Perfect timing
Most home searing mistakes come from ignoring one of these steps.
Choose the Right Meat for Searing
Not all cuts sear the same way.
Best Cuts for Searing
-
Ribeye
-
Strip steak
-
Filet mignon
-
Pork chops
-
Chicken thighs
-
Duck breast
What Makes Meat Good for Searing
-
Even thickness
-
Moderate fat content
-
No excess moisture
Thin, uneven cuts or overly wet meat won’t brown properly.
The Most Important Step: Dry the Meat
This is where most people fail.
Why Dry Meat Matters
Moisture causes steam, and steam prevents browning. If your meat is wet, it will boil before it browns.
How to Do It Right
-
Pat meat dry with paper towels
-
For best results, leave uncovered in the fridge for 30 minutes to overnight
-
Season only after drying
Dry surface = better crust.
Seasoning Like a Professional
Salt is your best friend.
When to Salt
-
Immediately before searing, or
-
At least 40 minutes before (dry brining)
Avoid salting 5-30 minutes before - it draws out moisture without time to reabsorb.
What to Use
-
Kosher salt
-
Fresh cracked pepper (added after searing if you prefer)
Choose the Right Pan
Your pan matters more than you think.
Best Pans for Searing
-
Cast iron (top choice)
-
Carbon steel
-
Heavy stainless steel
Avoid
-
Nonstick pans
-
Thin aluminum pans
A heavy pan retains heat and ensures even browning.
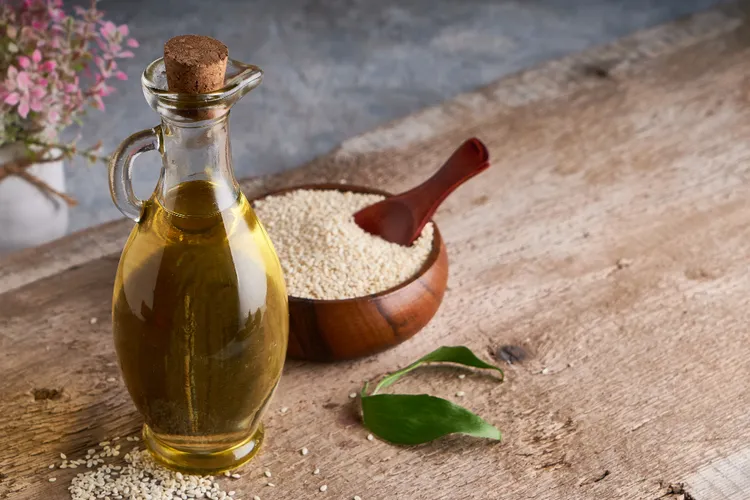
Use the Right Fat
Not all oils can handle searing heat.
Best Fats for Searing
-
Avocado oil
-
Canola oil
-
Ghee
-
Beef tallow
Avoid
-
Butter (burns quickly)
-
Olive oil (low smoke point)
Butter is great after searing, not before.
Heat the Pan Properly
Professional kitchens sear hot - really hot.
How Hot Is Hot Enough?
-
Pan should be smoking lightly
-
Oil should shimmer instantly
Heat the pan before adding oil, then add oil and meat immediately.
How to Sear Meat Step-by-Step
Step 1: Preheat the Pan
Heat empty pan over high heat for 3-5 minutes.
Step 2: Add Oil
Swirl to coat the pan.
Step 3: Add the Meat
Lay meat away from you to avoid splatter.
You should hear a loud sizzle immediately.
Step 4: Don’t Move It
This is critical.
Leave the meat untouched for:
-
Steak: 2-4 minutes
-
Chicken: 4-6 minutes
-
Pork chops: 3-5 minutes
Moving it too early ruins the crust.
Step 5: Flip Once
Flip only when the meat releases easily from the pan.
Sear the second side slightly less time.
Basting Like a Chef
Once the crust forms, add butter.
How to Baste
-
Lower heat slightly
-
Add butter, garlic, and herbs
-
Tilt pan and spoon butter over meat
This adds richness and aroma without burning.
Searing Different Meats Like a Pro
Steak
-
Room temperature before cooking
-
Sear edges too
-
Rest after cooking
Chicken
-
Skin side down first
-
Press gently for even contact
Pork
-
Slight pink is okay
-
Finish with butter baste
Fish
-
Start skin-side down
-
Use minimal movement
-
Finish gently
The Importance of Resting Meat
Resting allows juices to redistribute.
Resting Guidelines
-
Steak: 5-10 minutes
-
Chicken: 5 minutes
-
Pork: 5-8 minutes
Skip this and juices spill out when you cut.
Common Searing Mistakes (And Fixes)
Crowding the Pan
Fix: Cook in batches.
Low Heat
Fix: Preheat longer.
Flipping Too Often
Fix: Patience.
Using Cold Meat
Fix: Let meat sit out 20-30 minutes.
Professional Finishing Touches
-
Flaky salt
-
Fresh herbs
-
Compound butter
-
Lemon zest or pan sauce
Small details elevate home cooking to restaurant level.
Searing meat like a professional is about respect - for the ingredient, the heat, and the process. Once you understand how moisture, temperature, and timing work together, perfect searing becomes second nature.
With practice, patience, and the techniques in this guide, you’ll achieve deep, flavorful crusts and juicy interiors every time - no culinary school required.
Latest