How to Frost a Cake Smoothly Without a Fancy Turntable
Frosting a perfectly smooth cake doesn’t require a bakery setup or a spinning turntable - just a few smart techniques and the right touch. Whether you’re decorating your very first cake or trying to level up your homemade bakes, you can achieve that clean, professional finish right in your own kitchen. With the right frosting consistency and a couple of inexpensive tools, even beginners can create a beautifully polished cake that looks bakery-ready.
Frosting a cake until it looks smooth, polished, and bakery-ready can feel intimidating - especially if you don’t own a fancy turntable or professional tools. But here’s the truth: you can achieve a beautifully smooth cake using simple, everyday kitchen items and a few smart techniques. With the right consistency of frosting, a chilled cake, and a little patience, even beginners can create a clean, elegant finish that looks like it came straight from a pastry shop. Frosting a cake smoothly is less about expensive equipment and more about understanding texture, temperature, and control.
The foundation of a smooth cake begins long before the frosting touches the surface. A cake that is properly cooled - or better yet, slightly chilled - creates a stable base that won’t crumble under your spatula. Warm cakes shed crumbs easily, turning your frosting into a speckled mess before you even begin. Chilling your cake for 30-60 minutes firms it up, allowing the frosting to glide smoothly instead of dragging across the surface. And if your cake rises unevenly, don’t hesitate to level the tops with a serrated knife. Flat, even layers make the finishing process much easier and far more seamless.
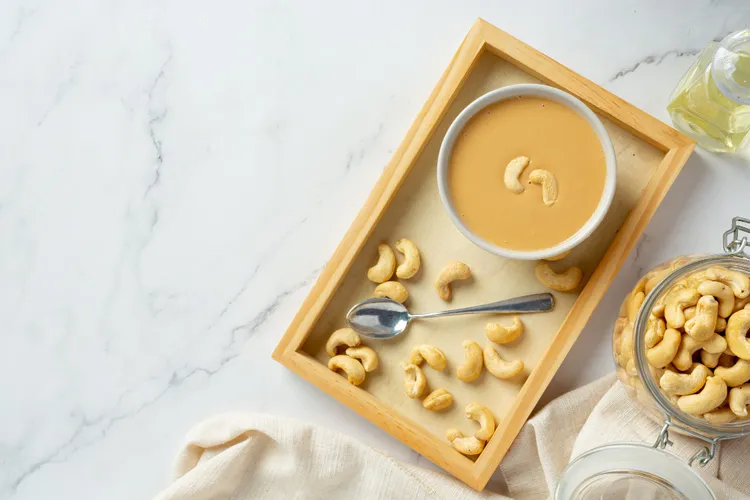
The next essential step is choosing the right frosting consistency. Frosting that’s too stiff tears the cake; frosting that’s too soft slides right off. You’re aiming for a silky, spreadable buttercream - soft enough to move easily but firm enough to hold shape. If it’s too thick, beat in a teaspoon or two of milk or cream. If it’s too loose, chill it for 5-10 minutes until it firms up. Room-temperature buttercream is ideal, because it spreads smoothly without melting. The texture should remind you of whipped peanut butter: creamy, lush, and perfectly smooth.
Without a turntable, your greatest tools become a steady hand and a clever workaround. A simple upside-down bowl, sturdy plate, or even a pot flipped over provides just enough elevation to make the job easier. Elevating the cake lets you get your spatula or bench scraper at the right angle without dragging your knuckles through your frosting. Speaking of tools, a long offset spatula is extremely helpful, but a regular butter knife or silicone spatula can still get the job done. For the smoothest finish, a bench scraper or straight-edged spatula is ideal for the sides, but even a clean ruler or the edge of a straight-edged baking sheet can work in a pinch.
Every beautifully frosted cake starts with a crumb coat - a thin layer of frosting that acts like edible glue, trapping every loose crumb so your final layer stays perfectly clean. A crumb coat doesn’t need to be pretty; its only job is to seal the surface. Spread a thin, transparent layer around the cake, then chill it for at least 15 minutes. This step alone dramatically improves the smoothness of your final coat by preventing crumbs from surfacing.
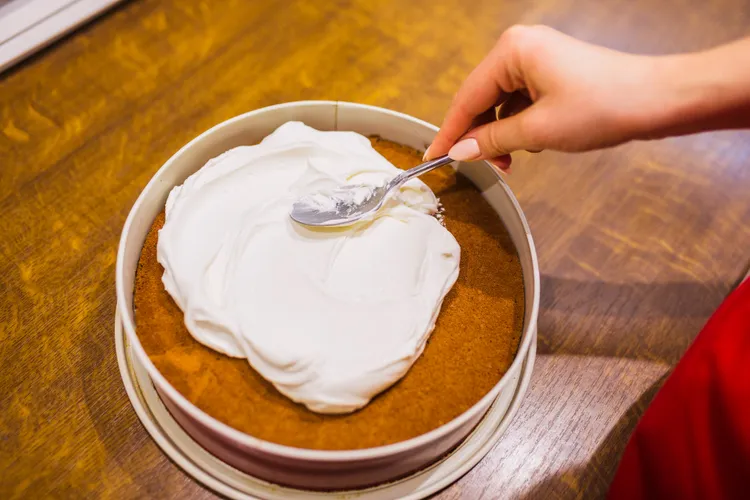
Once your crumb coat is set, you can begin applying the final layer. Add a generous amount of frosting to the top of the cake first and spread it outward toward the edges. Then apply frosting to the sides using your spatula or scraper, holding it vertically and working in slow, controlled strokes. The key is to keep your tool steady and let the cake - not your hand - rotate. Turn your plate or bowl little by little, smoothing the frosting as you go. Slow, consistent movement helps far more than speed. Every now and then, wipe your tool clean; leftover frosting bits can create ridges that disrupt the smoothness.
To get that ultra-sleek finish, dip your spatula in hot water, wipe it dry, and lightly glide it over the frosting. The warmth slightly melts the surface, creating a polished, professional sheen without dragging or tearing. This trick is used by bakers everywhere and works beautifully even without professional equipment. If you want sharp edges, use your spatula to gently pull frosting from the outer rim toward the center of the cake, smoothing and refining the top until it's perfectly neat.
One of the final secrets to smooth frosting is patience. Letting the cake chill between layers - even for a few minutes - makes everything more stable and easier to handle. When you’re not fighting melting frosting or shifting layers, your results improve dramatically. The more you practice, the more intuitive your motions become, and the more confident you’ll feel working without specialized tools.
In the end, frosting a cake smoothly without a turntable is entirely achievable with a few simple strategies: a chilled cake, properly textured frosting, a makeshift elevated base, and slow, steady movements. You don’t need fancy gadgets to make a cake look gorgeous - you just need technique and a bit of practice. The best part? Each cake you frost will look a little smoother, a little cleaner, and a little more polished than the last, proving that great baking results aren’t about the tools you have - they’re about the care you put into the craft.
Latest