No-Churn Ice Cream: Three Methods Without a Machine
The condensed milk method, the by-hand custard, and single-ingredient banana - and the ice crystal science that explains why each produces a different texture
Ice cream machines exist to solve one problem: ice crystals. When cream or custard freezes, water molecules form ice crystals. Large crystals produce a grainy, icy texture - the texture of cheap ice cream or a home attempt that hasn't been properly churned. Small crystals produce the smooth, creamy texture of good ice cream. Churning during freezing breaks up forming crystals continuously, keeping them small.
Without a machine, three alternative strategies produce smooth ice cream:
Strategy 1 (condensed milk method): Sweetened condensed milk already contains a high concentration of dissolved sugar. Sugar is a cryoprotectant - it interferes with ice crystal formation by getting between the water molecules and disrupting the crystalline structure. Folded with whipped cream, the high sugar content of the condensed milk keeps the ice cream smooth without churning.
Strategy 2 (by-hand churning): Freeze a custard base, then remove and beat vigorously every 30-45 minutes during freezing. The beating breaks up forming crystals mechanically - it is a manual ice cream machine, with all the effort that implies.
Strategy 3 (banana method): Frozen bananas blended produce a smooth, creamy, one-ingredient ice cream. The natural sugar and fibre in the banana, combined with the blending that breaks down the frozen structure, produces something very close to soft-serve ice cream without any dairy at all.
Method 1: Condensed Milk Ice Cream
The fastest, most reliable, most versatile
The two-ingredient base (condensed milk + whipped cream) can be flavoured in dozens of ways and produces ice cream with a genuinely smooth, creamy texture that improves on cheap commercial ice cream.
Base Ingredients (Makes approximately 1 litre)
- 400g tin of full-fat sweetened condensed milk - sweetened, not evaporated milk (these are completely different products)
- 600ml double cream, cold
Method
Step 1: Pour the cold double cream into a large bowl. Whip with an electric mixer to stiff peaks - peaks that stand straight up when the whisk is lifted. The cream must be at stiff peaks, not soft: soft peak cream produces a softer ice cream that may be icier.
Step 2: Pour the condensed milk over the whipped cream. Fold together with a large spatula - slow strokes from the bottom, folding up and over. Continue until the mixture is uniform with no streaks. Don't stir - the whipped cream's air is part of the ice cream's creaminess.
Step 3: Add any flavourings (see below) and fold in.
Step 4: Pour into a 1-litre freezer-safe container (a loaf tin lined with cling film works perfectly). Smooth the top. Cover with cling film pressed directly against the surface (preventing ice crystals forming on the surface). Freeze for 6 hours minimum, ideally overnight.
Flavour Variations (Condensed Milk Method)
Add any of the following to the condensed milk before folding into the cream:
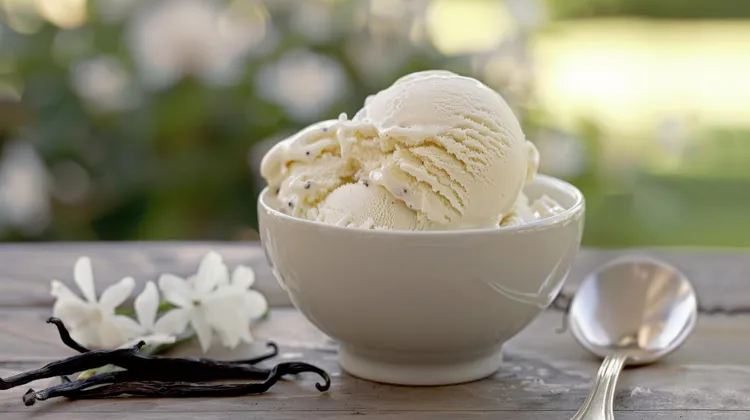
Vanilla: Scrape the seeds of 1 vanilla pod (or 2 tsp vanilla bean paste) into the condensed milk. The most classic version.
Chocolate: Melt 150g of dark chocolate and cool to room temperature. Mix into the condensed milk. The chocolate swirls through the cream and produces a rippled effect.
Strawberry ripple: Blend 200g of fresh or frozen strawberries with 2 tbsp of icing sugar and 1 tsp of lemon juice. Swirl through the ice cream mixture after pouring into the tin - use a skewer to create ripples.
Coffee: Dissolve 2 tbsp of instant espresso in 2 tbsp of boiling water. Cool completely. Mix into the condensed milk. Coffee ice cream that tastes of real coffee.
Salted caramel: Make the caramel sauce from the Sticky Toffee Pudding recipe. Cool to room temperature. Swirl 150ml through the ice cream mixture after pouring into the tin.
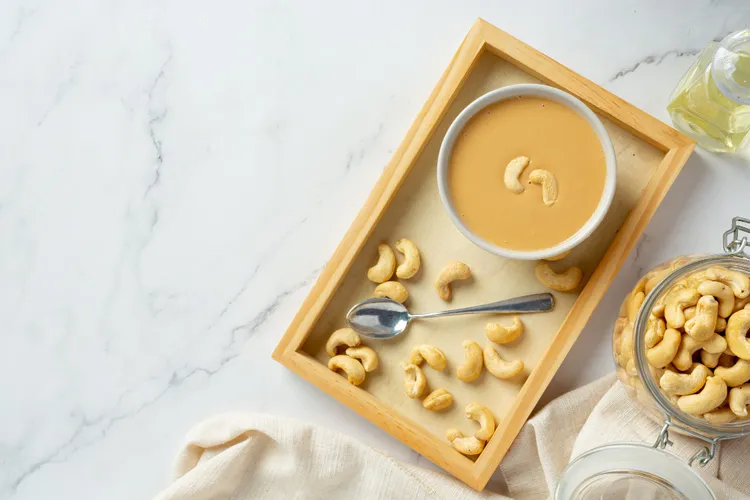
Peanut butter: Mix 150g of smooth peanut butter into the condensed milk before folding into the cream. The salt in the peanut butter makes this version particularly interesting.
Matcha: Mix 2 tbsp of ceremonial-grade matcha into 2 tbsp of the condensed milk to make a paste, then combine with the rest of the condensed milk. The result is a vivid green, intensely matcha-flavoured ice cream. See The Complete Matcha Guide.
Biscoff and cookie butter: Mix 150g of Biscoff spread into the condensed milk. Crush 10 Biscoff biscuits and fold through after combining with the cream. The result is one of the most popular versions of this ice cream.
Method 2: Custard Base - By-Hand Churning
The most traditional, closest to churned ice cream in texture
This method produces ice cream with a more complex flavour (from the egg yolk custard base) and a denser, slightly creamier texture than the condensed milk method. The trade-off is the effort of manual churning every 45 minutes during freezing.
Ingredients
- 6 large egg yolks
- 150g caster sugar
- 500ml double cream
- 200ml whole milk
- 2 tsp vanilla extract or 1 vanilla pod
Method
Make the custard: Combine the cream, milk, and vanilla in a saucepan. Heat until steaming. Whisk the egg yolks and sugar together until pale and thick. Temper the hot cream slowly into the yolks, whisking continuously. Return to the pan over medium-low heat. Stir constantly until the custard reaches 80°C and coats the back of a spoon - the nappe stage (a finger drawn through the coating on the spoon leaves a clean line).
Strain through a fine sieve. Cool completely (refrigerate until cold - at least 2 hours, or overnight).
Churn by hand: Pour the cold custard into a shallow freezer-safe container. Freeze for 45 minutes. Remove and beat vigorously with an electric hand mixer or whisk for 2–3 minutes until the forming ice crystals are broken up and the mixture is smooth.
Return to the freezer. Repeat at 45-minute intervals for a total of 4-5 churning sessions. After the final session, freeze for at least 4 hours until fully set.
The texture result: More complex flavour than the condensed milk version; a slightly denser, more scoopable texture. Closer to classic Italian gelato.
Method 3: Banana Ice Cream (One Ingredient)
The simplest, dairy-free, the one that requires nothing
Frozen bananas, blended, produce something astonishingly close to soft-serve ice cream. The mechanism: the natural sugars and fibre in the banana, combined with the high-speed blending that breaks the frozen structure into fine particles, produce a smooth, creamy texture without any added cream or sugar.
Ingredients
- 4 very ripe bananas - the riper, the sweeter and more flavourful. Bananas with black spots are ideal; completely brown bananas are even better.
Method
Step 1: Peel the bananas. Cut into 3cm rounds. Place in a single layer on a baking sheet lined with parchment. Freeze for at least 2 hours until completely solid.
Step 2: Transfer the frozen banana pieces to a food processor or high-speed blender. Blend on high speed. Initially the mixture will look crumbly and granular - continue blending, scraping down the sides.
After 1-2 minutes of blending, the mixture transforms: it becomes smooth, creamy, and pale yellow - indistinguishable in appearance from soft-serve ice cream.
Eat immediately as soft-serve or transfer to a container and freeze for 1 hour for a firmer consistency.
Banana Ice Cream Flavour Add-Ins
Add any of the following to the banana during blending:
- 2 tbsp peanut butter: The banana-peanut butter combination is the most popular version. Add before blending.
- 2 tbsp cocoa powder: Dark chocolate banana ice cream.
- 1 tsp vanilla extract + 1 tbsp honey: A sweeter, more vanilla-forward version.
- 2 tbsp almond butter + 1 tsp cinnamon: Warmly spiced, nutty.
- A handful of frozen raspberries or strawberries: The fruit adds colour, flavour, and tartness.
Serving and Scooping
The softening step: No-churn ice cream (particularly the condensed milk version) freezes harder than churned commercial ice cream, because the higher sugar content slows freezing somewhat but doesn't produce the same scoop-ability. Remove from the freezer 10-15 minutes before serving to soften slightly.
Warm the scoop: Dipping the ice cream scoop in a mug of hot water between scoops produces cleaner, rounder scoops.
Storing
No-churn ice cream keeps in the freezer for up to 6 weeks (condensed milk version) or 3 weeks (custard version). Beyond this, larger ice crystals form and the texture becomes icier. Press cling film directly against the ice cream surface before covering - this prevents the formation of ice crystals on the top layer.
Pro Tips
- Use the coldest possible cream for Method 1. Cold cream whips faster, more stably, and produces a stiffer result - all of which improve the final ice cream. Warm cream under-whips and produces a softer, icier final result.
- Add mix-ins (cookies, chocolate chips, swirls) after pouring into the tin. Mix-ins added to the liquid mixture before freezing sink to the bottom or get incorporated unevenly. Swirl them through after pouring with a skewer.
- For the banana method: very ripe bananas only. Under-ripe bananas freeze to a dense, starchy mass that doesn't blend to the same creamy result. Wait until the bananas have visible brown spots before freezing.
- The condensed milk method is the one to master. It produces consistently excellent ice cream in one session, no machine required, and the flavour variations are genuinely unlimited.
🔗 Pair With Other Desserts
Latest