How to Get a Crispy Crust on Homemade Bread
That sound - the one a great loaf makes when you squeeze it gently and it crackles back at you - is one of the most satisfying things in all of cooking. A crispy, crackling bread crust isn't luck or magic. It's the result of understanding one key principle, and then using the right techniques to make it happen.
Getting a crispy crust on homemade bread is something most beginners struggle with. Their loaves come out soft, pale, and a little disappointing - nothing like the crackling, deeply colored boules from a good bakery. The gap isn't talent or equipment. It's technique.
Here's everything you need to know.
The Science Behind a Crispy Crust: It's All About Steam
To understand why most homemade bread has a soft crust, you need to understand what's happening in a professional bread oven.
Commercial deck ovens inject steam into the baking chamber at the start of every bake. That steam does two critical things:
1. Keeps the crust flexible in the first 10-15 minutes. This allows the dough to expand fully - what bakers call oven spring - before the crust sets. Without moisture, the surface dries and hardens too quickly, trapping the loaf in a tight shell and limiting rise.
2. Gelatinizes the starches on the crust's surface. Steam-exposed starches become glossy and eventually caramelize into that signature deep amber color and crunch.
Once the steam phase ends, the oven heat takes over - drying out the crust, caramelizing the sugars, and setting that crackling shell.
Your home oven has no steam injection. So you need to create it yourself.
Method 1: Bake in a Dutch Oven (Most Effective)
The Dutch oven is the home baker's steam chamber. When you place dough inside a preheated, covered Dutch oven, the moisture evaporating from the dough gets trapped under the lid - creating a miniature steam environment.
How to do it:
- Place your Dutch oven (lid on) in the oven and preheat to 475-500°F (245-260°C) for at least 30-45 minutes
- Carefully lower your shaped, scored dough into the blazing hot pot
- Bake covered for 20 minutes (steam phase)
- Remove the lid and bake another 20-25 minutes until deeply colored
The result: a crust that's thin, crackling, and blistered - genuinely bakery-quality. If you want the best crust possible at home, this is the method.
The Dutch oven is covered in detail in our 5 Essential Bread Baking Tools guide - including budget alternatives if you don't own one.
Tip: Preheat the Dutch oven empty, without parchment paper, for maximum heat retention. Use a parchment sling to lower the dough in safely - fold a sheet of parchment into a wide strip, nestle the dough on it, and use the ends as handles.
Method 2: Steam Pan in the Oven (No Dutch Oven Required)
If you're baking a sandwich loaf in a pan - or a free-form loaf on a baking sheet - you can still create a steamy environment.
How to do it:
- Place a heavy, shallow metal pan (a cast iron skillet or old cake pan) on the bottom rack of your oven while preheating
- When you put your bread in, immediately pour 1 cup of boiling water into the hot pan
- Close the oven door quickly to trap the steam
- After 15-20 minutes, carefully remove the steam pan
The steam won't be as concentrated as in a Dutch oven, but it makes a meaningful difference - especially for crust color and initial spring.
Common Mistake 1: Using a glass dish for your steam pan. Pouring boiling water into a hot glass dish can shatter it. Always use a metal pan.
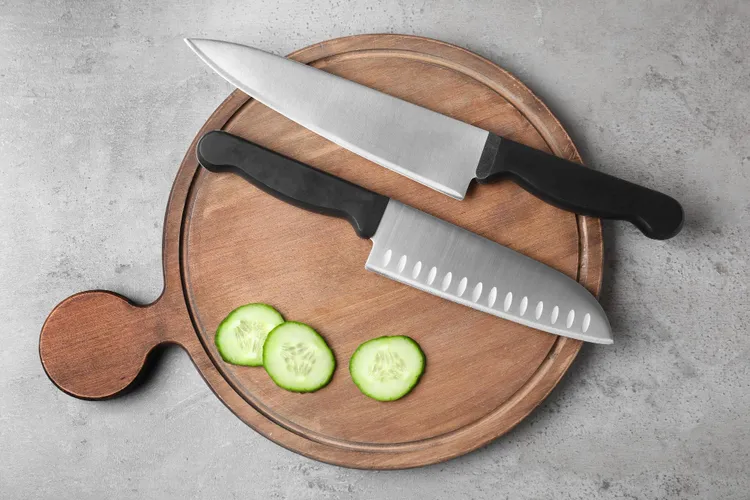
Method 3: Score the Dough Properly
Scoring - cutting the surface of the dough before baking - isn't just decorative. It controls where the bread expands during oven spring.
Unscored dough expands wherever the crust is weakest, often blowing out on the side or bottom. Properly scored dough expands along the cut line, creating an "ear" - a raised, crackly flap of crust that's one of the most satisfying textures in baking.
How to score:
- Use a sharp serrated knife, a single-edge razor blade, or a bread lame
- Score at a 30-45 degree angle to the surface (not straight down) to encourage an ear to form
- Move quickly and decisively - a slow, dragging cut deflates the dough
- Depth: ½-¾ inch for most loaves
For a simple loaf: one slash down the center. For a boule: an X, a hashtag pattern, or a spiral. The pattern doesn't affect flavor - just pick what you like.
Method 4: Bake at High Heat
Home bakers often bake bread at 350-375°F, which produces a soft, pallid crust. Artisan bread needs high heat - 425-500°F (220-260°C) - for proper crust development.
The Maillard reaction (browning) and caramelization that create that deep color and complex flavor happen significantly faster at higher temperatures. Don't be afraid of the heat.
For most free-form loaves: 450-475°F (230-245°C) For sandwich loaves: 375-400°F (190-205°C) - a bit lower since the pan insulates the dough and it needs more time without burning
Method 5: Fully Bake (Don't Pull It Early)
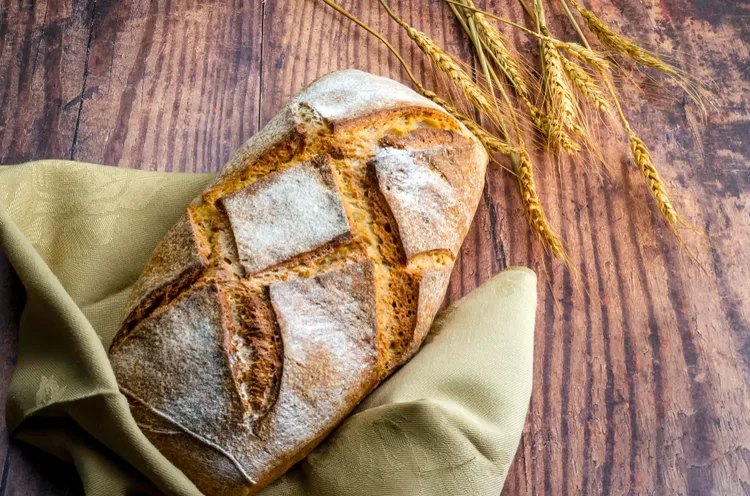
This sounds obvious, but it isn't: bread needs to be baked all the way through to develop a proper crust. Many beginners pull their loaves the moment the top looks golden - but golden is just the beginning.
A properly baked crust is deep amber to dark brown. It should look almost overdone if you're used to supermarket bread. The interior temperature should hit 190-200°F (88-93°C) for white bread, 200-210°F (93-99°C) for denser loaves.
After baking, place the loaf on a wire rack - not a plate or cutting board. Air circulation underneath prevents the bottom crust from steaming and going soft.
Method 6: Cool Completely Before Storing
A beautiful crust can go soft in an hour if you store it wrong. Putting a warm loaf in a plastic bag traps steam and turns that crackling crust into a soft shell within minutes.
To preserve a crispy crust:
- Cool completely on a wire rack (minimum 1 hour, ideally 2)
- Store in a paper bag or loosely wrapped in a cloth towel
- For longer storage, slice and freeze - the crust won't survive days at room temperature anyway
Plastic bags are for sliced, soft sandwich bread - not artisan crust loaves.
Common Mistake 2: Wrapping a warm loaf in a plastic bag to "lock in freshness." You're locking in steam, which destroys the crust and can make the interior gummy. Always cool fully first.
Why Your Crust Softens After Cooling
Even with perfect technique, many loaves have a crispy crust fresh from the oven that softens within an hour. This is normal - and it's caused by moisture migration from the interior of the loaf to the crust.
The higher your dough hydration, the more this happens. A 75% hydration loaf will always soften faster than a 65% hydration loaf.
To minimize softening:
- Bake the loaf until fully done (not just golden)
- Cool on a rack, not a solid surface
- Reheat briefly (5-10 minutes at 400°F) to restore crispiness when serving
Frequently Asked Questions
Q: Why does my homemade bread have a soft, pale crust? Almost always: insufficient heat, no steam in the early bake, or both. Try increasing your oven temperature by 25-50°F and adding a steam pan or switching to a Dutch oven.
Q: Can I get a crispy crust on a sandwich loaf pan bread? Somewhat. Pan bread will always be softer than free-form artisan bread because the pan insulates the crust. For the crispiest pan loaf: brush the top with water before baking, use a hot oven (400°F), and remove from the pan for the last 5 minutes of baking.
Q: Why does bakery bread stay crispy longer than mine? Professional ovens maintain consistent high heat and humidity levels that home ovens can't fully replicate. But the bigger factor is usually that bakeries let their loaves cool completely on open racks for hours - they're not cutting into warm bread.
Q: Does egg wash make bread crispy? Egg wash produces a shiny, glossy crust but not a crackling crispy one. It's used on enriched breads (brioche, challah) for appearance. For a crackling artisan crust, water or no wash at all is the right approach.
Q: My Dutch oven crust crackles in the oven but softens when cooling - why? Moisture migrating from the crumb. Make sure you're baking fully with the lid off long enough (20+ minutes) to fully dry the crust. Try extending the uncovered phase by 5 minutes.
Chase the Crackle
The crispy crust you're imagining - deeply colored, thin as paper, shattering when you squeeze it - is absolutely achievable in your home oven. It just requires steam at the start, high heat throughout, and patience in the cooling.
Start with the Dutch oven method on our No-Knead Overnight Bread recipe - it's specifically designed to produce that bakery crust at home with minimal effort. Once you hear that first crackle, you'll understand why bread bakers get obsessed.
More from the Beginner's Bread Series:
Latest