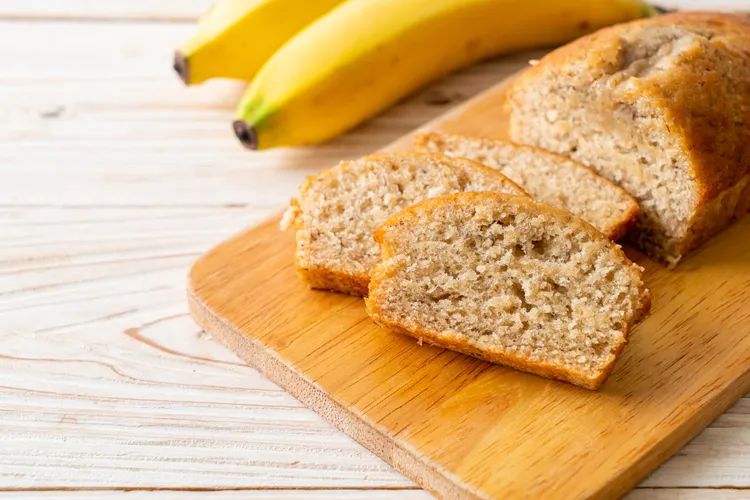
Banana Bread: The Science Behind a Perfect Loaf
Why overripe bananas, browned butter, and one overlooked technique produce something considerably better than the standard version
Banana bread is the most-made recipe in home kitchens during every period of collective domestic activity since baking became a home pursuit. It is also the recipe where the gap between a good version and an excellent version is most clearly explained by understanding what is happening chemically rather than just following different instructions.
Most banana bread recipes produce an acceptable loaf. Moist, banana-flavoured, pleasant. The one produced by this recipe is noticeably better - more intensely banana-flavoured, with a deeper, slightly caramelised complexity from browned butter, a tender crumb that stays moist for days, and a crust that is golden-brown and slightly crisp at the edges in a way that most banana bread isn't.
The difference is not a secret ingredient or a surprising technique. It is three things: overripe bananas (not just ripe, but nearly black), browned butter (not melted, not creamed - browned), and understanding what each step in the recipe is producing so you can execute it with intention rather than hope.
The Banana Science: Why Nearly Black Is Correct
A ripe banana - yellow, firm, purchased from the supermarket - contains approximately 12% sugar by weight, mostly fructose. The same banana left on the counter for another 5-7 days, until the skin is mostly black and the fruit inside is soft and heavily fragrant, contains approximately 23% sugar, now converted from starch by naturally occurring enzymes (amylase). The banana has become sweeter, more complex, and more aromatic - because the enzyme activity has done work that a yellow banana hasn't completed.
The practical implications are significant:
Flavour. The conversion from starch to sugar is accompanied by the development of flavour compounds (isoamyl acetate and others) that are responsible for what most people identify as "banana flavour." A yellow banana has these in modest quantities. A nearly black banana has them in concentration. Banana bread made with yellow bananas tastes of banana the way banana-flavoured yogurt tastes of banana. Banana bread made with nearly black bananas tastes of banana the way a very good banana tastes of banana.
Sweetness. The increased sugar content means less additional sugar is needed to produce the same level of sweetness. Some recipes reduce the sugar accordingly; this one uses the extra sugar to produce more Maillard browning and a slightly more complex sweetness.
Moisture. The nearly black banana has higher moisture content as the cell walls break down. This moisture contributes to the loaf's tenderness and keeps it moist for longer.
The accelerated ripening method: If you want to make banana bread now and don't have overripe bananas, place unpeeled bananas on a sheet pan in a 150°C oven for 15-20 minutes until the skins turn completely black and the bananas are soft throughout. This accelerates the enzyme activity and produces an approximation of properly overripe bananas. It is good. The real thing is better.
The Browned Butter Science: Why It Matters
Melted butter and browned butter are chemically different ingredients. The transformation happens in approximately 4-5 minutes on medium heat: the water in the butter evaporates, the milk solids (proteins and sugars) undergo Maillard browning, and a collection of aromatic compounds - specifically diacetyl, furanones, and pyrazines - are produced that give browned butter its characteristic nutty, caramelised, slightly butterscotch quality.
In banana bread, browned butter adds a depth that sits underneath and amplifies the banana flavour rather than competing with it. Tasted blind, most people cannot identify the source of the added depth in browned-butter banana bread - they simply find it tastes more like itself, more complex, more interesting.
The technique is straightforward: 5 minutes of attention over medium heat, watching for the colour to shift from golden to amber and the smell to change from dairy to nutty. See How to Brown Butter for the complete technique if this is your first time.
Ingredients
Makes 1 loaf (900g/2lb tin) | Active time: 15 minutes | Total time: 1 hour 15 minutes
- 3 large overripe bananas (approximately 300g peeled weight - the darker the skin, the better)
- 115g unsalted butter, browned and cooled slightly (see method)
- 150g soft light brown sugar - brown sugar rather than white for its molasses content, which adds depth and moisture
- 2 large eggs, at room temperature
- 1 tsp vanilla extract
- 180g plain flour (all-purpose) - not bread flour, which would produce too much gluten
- 1 tsp baking soda (bicarbonate of soda) - not baking powder; the banana's natural acidity activates the baking soda
- ½ tsp fine sea salt - essential; banana bread without salt tastes flat and one-dimensional
- ½ tsp ground cinnamon - optional but recommended; it amplifies the banana's warmth
- 2 tbsp soured cream or full-fat yogurt - the acid activates the baking soda more completely and adds moisture
Method
Step 1: Brown the butter (5 minutes)
Place the butter in a light-coloured saucepan (light-coloured so you can see the colour change) over medium heat. It will melt, then foam, then the foam will subside as the water evaporates. Watch for the colour to shift from pale golden to amber-brown and the smell to become nutty and caramelised. This happens quickly after the foam subsides - 60-90 seconds.
Remove from heat immediately. Pour into a bowl (including the browned bits at the bottom - these carry a concentrated amount of flavour) and allow to cool to room temperature. If the butter is too hot when added to the eggs, it will scramble them.
Step 2: Mash the bananas (2 minutes)
In a large bowl, mash the overripe bananas with a fork until smooth with very few lumps. A few small lumps are fine and add texture; a completely smooth purée produces a slightly denser loaf.
Step 3: Combine wet ingredients (3 minutes)
Add the cooled browned butter to the mashed banana and stir to combine. Add the brown sugar and stir until dissolved. Add the eggs one at a time, stirring after each until fully incorporated. Add the vanilla extract and soured cream or yogurt. The mixture should be cohesive and slightly glossy.
Step 4: Add dry ingredients (2 minutes)
Sift the flour, baking soda, salt, and cinnamon directly over the wet ingredients. Fold with a spatula using as few strokes as possible - typically 12-15 folds is sufficient. Stop when the last streaks of flour disappear.
Why as few strokes as possible: Each fold develops gluten. Banana bread needs minimal gluten - enough to hold the loaf together, not enough to produce a chewy, bready texture. Overmixing is the most common cause of a dense, tough banana bread. Undermixing (a few small flour streaks remaining) is far less problematic than overmixing.
Step 5: Bake (55-60 minutes)
Preheat the oven to 170°C (fan). Grease a 900g/2lb loaf tin and line the base with parchment.
Pour the batter into the prepared tin. The batter should be thick and pourable. Bake for 55-60 minutes until a skewer inserted into the centre comes out clean (a few moist crumbs are fine; wet batter is not).
The visual indicators: The loaf will crack along the top - this is normal and desirable (it indicates oven spring and proper rising). The crack should be golden; the sides of the loaf where they meet the tin should be pulling away slightly. The entire surface should be deep golden-brown.
The temperature indicator: If you have an instant-read thermometer, the internal temperature should reach 93-95°C. This is more reliable than the skewer test, particularly for loaves with chocolate chips or other inclusions that make skewer testing ambiguous.
Step 6: Cool (important)
Allow to cool in the tin for 10 minutes, then turn out onto a wire rack. Allow to cool for at least 30 minutes before slicing.
Why cooling matters: The banana bread's structure continues to set as it cools. Sliced while hot, it will be gummy and compress under the knife. Sliced after 30 minutes of cooling, it will hold its shape and have a cleaner crumb structure.
Five Variations
Classic with Chocolate Chips
Add 150g of chocolate chips (dark, milk, or a mix) to the batter after the flour is folded in. The chips sink slightly during baking; to prevent this, toss them in 1 tbsp of flour before adding. Chocolate chip banana bread is the single most searched banana bread variation and with good reason - the combination is reliable and excellent.
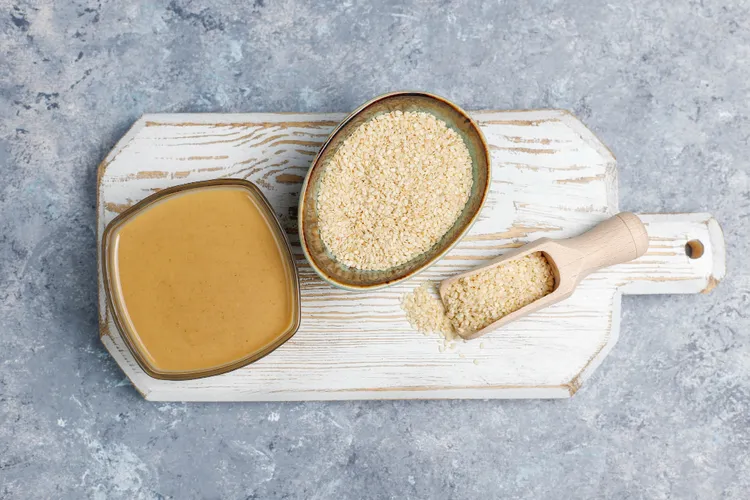
Tahini Swirl
Reduce the butter to 85g (browned as above). After pouring the batter into the tin, drizzle 3 tbsp of good-quality tahini over the surface. Use a skewer or chopstick to swirl through the batter 4-5 times. The tahini's nuttiness and slight bitterness provides a specific contrast to the banana's sweetness. Connects to the Tahini post in the World Cuisines collection.
Brown Butter Walnut
Add 100g of toasted walnuts (halved or roughly chopped) to the batter. The walnut's slight bitterness and crunch is the classic pairing with banana bread - more interesting than chocolate chips, less expected. Toast the walnuts in a dry pan for 3-4 minutes before adding.
Miso-Banana
Add 1 tbsp of white miso to the wet ingredients alongside the butter. The miso's fermented, savoury depth amplifies the banana's sweetness in the same way it amplifies chocolate - invisibly, producing depth without a detectable miso flavour. Connects to the Miso post in the World Cuisines collection.
Vegan Version
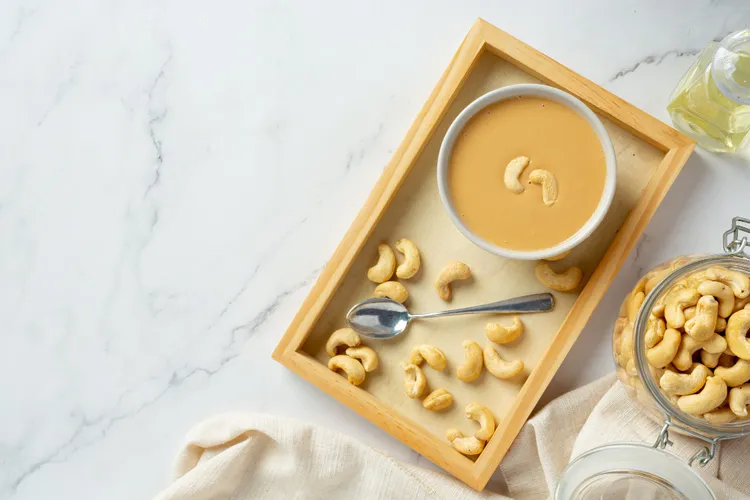
Replace the butter with 90ml of neutral oil (or melted coconut oil for additional flavour). Replace the eggs with 2 flax eggs (2 tbsp ground flaxseed + 6 tbsp water, left to gel for 5 minutes). Replace the soured cream with coconut yogurt. The vegan version is slightly denser and less complex than the butter version but entirely satisfying. Connects to the Plant-Based collection's cashew cream.
Storing and Freezing
Room temperature: Wrap tightly in cling film or store in an airtight container. Keeps for 4-5 days, improving on days 2 and 3 as the moisture redistributes.
Freezing: Slice the completely cooled loaf, wrap individual slices in cling film, and freeze in a sealed bag. Frozen slices thaw at room temperature in 30 minutes or can be toasted directly from frozen. Banana bread freezes very well - the moisture content means it retains quality longer than drier bakes.
Troubleshooting
The loaf sank in the middle: Almost always caused by underbaking - the structure hadn't set when removed from the oven. Use the skewer test and the temperature test, not time alone. Every oven runs differently.
The loaf is too dense: Either the bananas were not ripe enough (insufficient sugar and moisture), the batter was overmixed (gluten overdeveloped), or too much flour was used (which is why grams matter more than cups). Address all three for the next batch.
The outside is browning too fast: Tent loosely with foil at the 30-minute mark and continue baking. The sugar content in banana bread makes the crust colour faster than plain breads - this is normal and manageable with the foil.
The loaf didn't rise: The baking soda was either old (test: add ½ tsp to a cup of hot water; it should bubble immediately) or the batter was overmixed (mixed out the air pockets). Replace old baking soda; mix less next time.
Pro Tips
- The browner the banana, the better the bread. There is no such thing as a banana that is too ripe for banana bread. Black-skinned, nearly liquefied bananas produce the best result.
- Don't skip the salt. Salt is the ingredient that makes the banana flavour taste like banana rather than sweet batter. ½ tsp seems small in a full loaf; its absence is immediately obvious.
- Cool completely before wrapping. Wrapping a warm loaf traps steam and makes the crust soft. A completely cool loaf wrapped tightly stays moist inside while maintaining its crust.
- The soured cream is worth including. Its dual role - adding moisture and activating the baking soda through acidity - produces a more tender crumb than versions without it.
Common Mistake: Using Yellow Bananas Yellow bananas produce acceptable banana bread. Nearly black bananas produce exceptional banana bread. The 5-7 days of additional ripening doubles the sugar content and concentrates the flavour compounds that make banana bread taste specifically of banana. If your bananas are yellow, use the oven-ripening method (150°C, 15-20 minutes in their skins) as a shortcut. If you have time, wait. The banana tells you when it's ready.
FAQ
Q: Can I use frozen bananas?
Yes - frozen bananas are ideal. They emerge from the freezer already the texture of very ripe bananas, liquid at the surface as the ice crystals melt. Defrost completely and drain any excess liquid before using. If anything, frozen bananas produce slightly more intense flavour because the freezing accelerates cell breakdown.
Q: Why does my banana bread always turn out gummy?
Underbaking - the most common cause. The internal temperature must reach 93-95°C for the starch to fully gelatinise and the structure to set. A gummy interior means the heat didn't penetrate fully. Bake for longer, checking with a thermometer rather than time alone.
Q: Can I add more bananas?
Up to 4 large bananas (approximately 400g peeled) without adjusting other ingredients. More than this produces a very moist batter that may not set properly - reduce the soured cream slightly if using 4 bananas.
🔗 Continue Baking
- Chocolate Brownies: The Definitive Fudgy Recipe
- Cookie Science: Three Textures, One Recipe
- Focaccia: The Forgiving Bread That Always Works
- The Science of Leavening: Yeast, Baking Soda, Baking Powder, Steam
- Tahini: The Sesame Paste That Makes Everything Better - for the tahini swirl
- Baking From Scratch: The Complete Guide
Latest